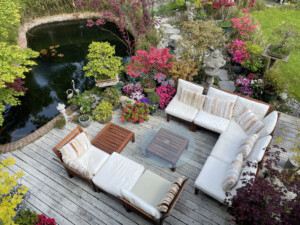
Building a koi pond can bring beauty, serenity, and joy by keeping these magnificent fish in your backyard. However, constructing a successful koi pond requires careful planning, attention to detail, and consideration of various factors. From selecting the right location to designing the layout, choosing appropriate equipment, and creating a suitable habitat for your koi, each step plays a crucial role in the overall success of your project. Whether you are renting a home in Spokane, WA, or purchased a home in San Francisco, CA, in this Redfin article we’ll explore the essential steps and important considerations involved in building a koi pond, providing you with the knowledge and confidence to create a thriving aquatic sanctuary that will be a source of pride and enjoyment for years to come.
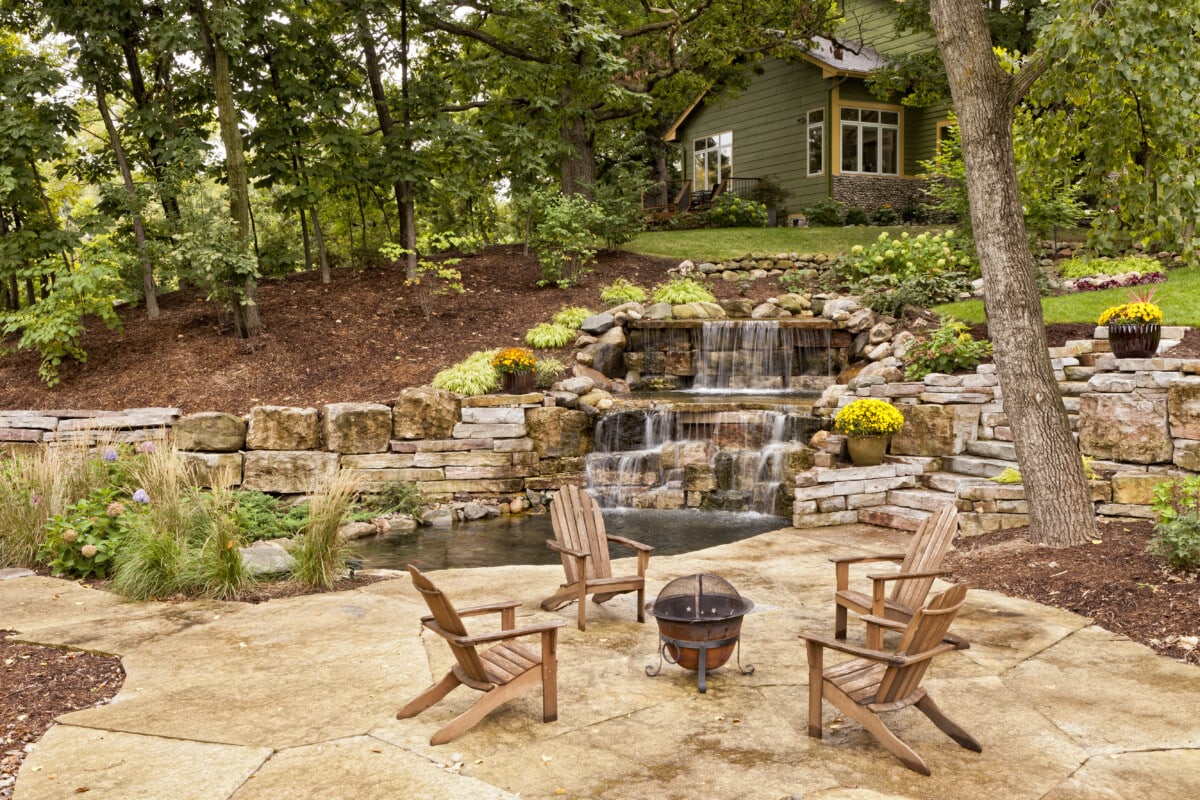
1. Obtain the right permits and approvals
Obtaining safety approvals and permits for your backyard koi pond is essential before you start building. Permits ensure your project adheres to safety standards and building codes, mitigating potential risks and hazards. Permits for digging projects, such as excavation for the pond, ensure that you avoid underground utility lines, preventing potential disruptions or accidents. Furthermore, permits help maintain the integrity of the surrounding ecosystem, ensuring that your project does not negatively impact local water sources, wildlife, or habitats.
2. Layout your pond
When building a backyard koi pond, thoughtfully plan and layout your pond. Start by selecting an appropriate location that receives a balance of sunlight and shade throughout the day, as excessive sunlight can lead to algae growth and poor water quality. Next, consider the size of the pond based on the number and size of koi you intend to keep. Once you’ve decided on your location and size, use a hose, string, or temporary marking paint to draw out a layout.
3. Dig your pond
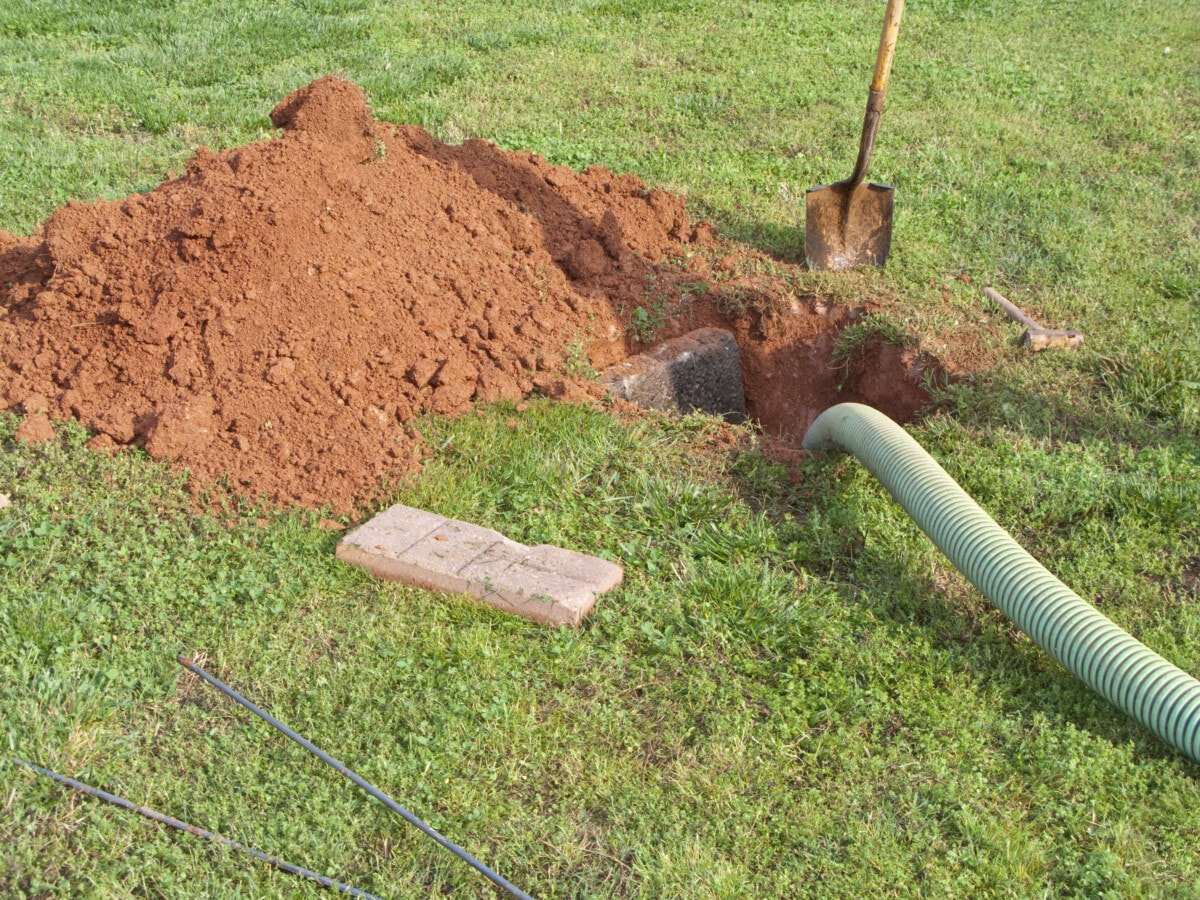
Use a shovel or, for larger ponds, consider renting excavation equipment like a mini-excavator or backhoe or hiring a contractor. Start digging from the center and work your way out, removing soil gradually while ensuring the sides of the pond slope gently to prevent collapses. Aim for a depth of at least three-five feet to provide enough swimming space and protection for the fish. Create varying depths and incorporate shelves or ledges to allow for different levels of water and vegetation. While digging, check for underground utilities or pipes and take precautions to avoid damaging them. Smooth out the bottom of the pond and remove any sharp rocks or debris that could harm the koi. After the excavation, check the levelness and make any necessary adjustments.
4. Set up the drain
Installing a drain in your backyard koi pond is an important step to ensure proper water circulation and maintenance. First, determine the ideal location for the drain, typically at the deepest part of the pond. Dig a hole in that area to accommodate the drain assembly. The drain consists of a bottom drain, a pipe, and a collection container or sump. Connect the bottom drain to the pipe using solvent cement or appropriate connectors, ensuring a secure and watertight seal. Place the pipe in a trench that leads to the collection container or sump. The collection container should have a strainer or debris trap to prevent clogging. Install a check valve in the pipe to prevent backflow and flooding during power outages or pump failures. The pipe should be sloped slightly downward from the pond to the collection container for proper water flow. Finally, cover the collection container or sump with a removable lid for easy access and maintenance.
5. Install liner
Installing a liner is a crucial step in building a backyard koi pond, as it creates a watertight barrier that holds the water and prevents leakage. Start by laying down an underlayment, which acts as a protective layer for the liner. The underlayment helps prevent punctures from rocks or roots and provides cushioning for the liner. Smooth out the underlayment, removing any wrinkles or folds. Next, carefully position the pond liner over the underlayment, ensuring it extends beyond its edges.
Light Fish recommends investing in a high-quality 45mm EPDM (M-class rubber) pond liner. “It is one of the best investments to make when setting up a Koi pond. Pond liners prevent water from seeping into the soil, preventing water loss.” Smooth out the liner, removing any wrinkles or air pockets. Use rocks or other heavy objects to hold the liner in place temporarily.
6. Decorate with stones
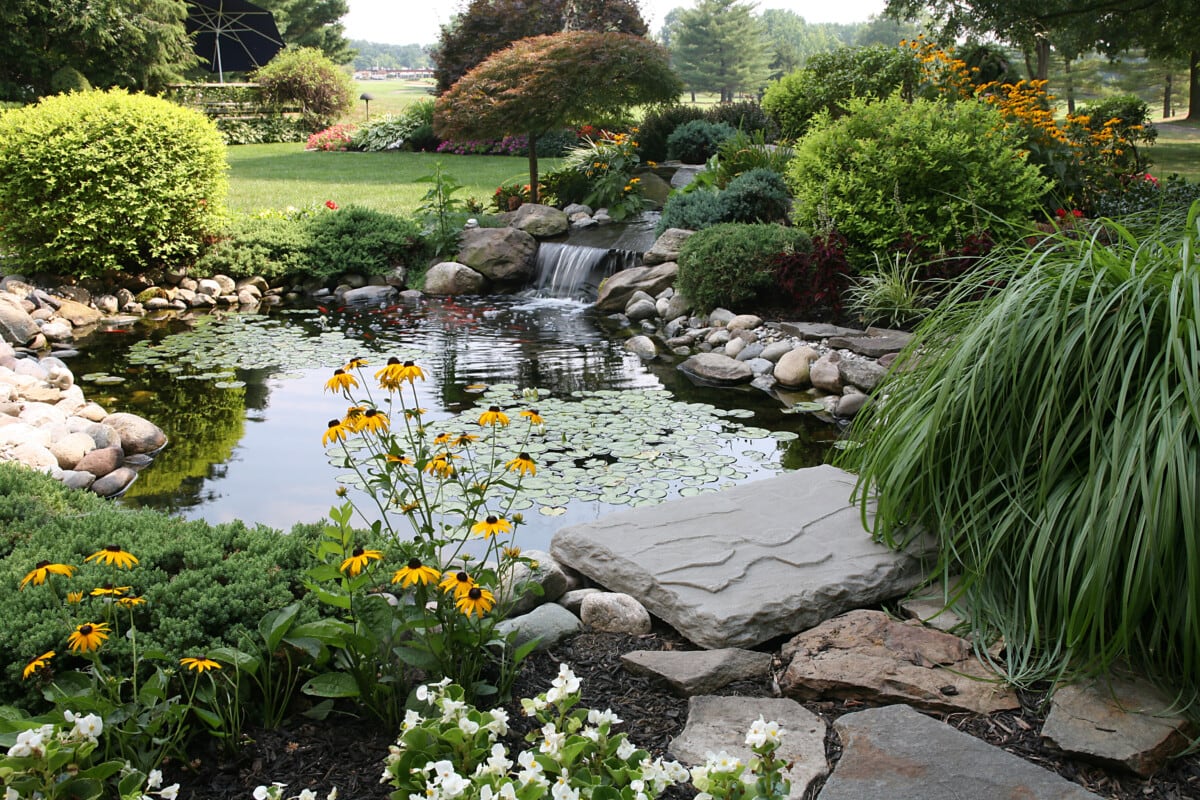
Select stones suitable for aquatic environments and large enough to create a stable and visually appealing arrangement. Begin by laying a layer of sand or a thin mortar bed around the pond’s edge to create a level and stable base for the stones. Start placing the larger stones first, positioning them securely against the pond’s edge. Ensure the stones are stable and won’t shift or move over time. Fill the gaps with smaller stones or gravel to create a cohesive and natural-looking design.
There are also different types of ways you can incorporate stone into your koi pond. “A unique and mesmerizing way to enhance the environment could be an installation of custom-made marble cladding (floral or koi fish patterns), especially on the exposed areas of the pond and cat the exteriors,” says The Rockscape Company.
7. Install mechanics
Installing the necessary mechanics in a backyard koi pond is important for maintaining water quality and a healthy environment for your fish. Install a water pump, which is responsible for circulating and aerating the water in the pond. Select a pump with an appropriate flow rate based on the size of your pond and the desired water circulation. Place the pump in the pond’s deepest area and connect it to the settling chamber using pipes.
“Invest in a reliable filtration system to maintain water quality and clean the pond,” remarks Clayton at Everything Ponds. “Also, incorporate aeration through equipment or by splashing water to ensure sufficient oxygen levels for the koi, especially during the warmer summer months when oxygen levels are at their lowest.”
Fountains 2 Go adds, “Ponds not aerated properly can experience algae blooms and fish kills that can happen overnight. Fish thrive in well-oxygenated water, resulting in better appetite, increased vitality, and overall better health. If you want to maximize the amount of fish your pond can hold, properly aerated ponds can hold just about twice the amount of fish than a non-aerated pond can.”
Consider a settling chamber, which helps remove debris and sediment from the water before it reaches the main filtration system. Place the settling chamber strategically, such as near the pond’s edge, and connect it to the pond.
Discount Pond Shop notes, “Position the skimmers in areas where the wind or water currents commonly push debris towards, such as the pond’s upwind side. Connect the skimmers to the settling chamber or filtration system using pipes, ensuring a proper seal to prevent water leakage.”
8. Fill the pond with water
During the filling process, monitor the water temperature to ensure it’s compatible with the optimal temperature range for koi fish, typically between 68°F and 77°F. If the water temperature is outside this range, consider adjusting the water source or waiting until the temperature is suitable. As the water fills the pond, add a dechlorinator to remove any harmful chlorine or chloramines in the water supply. Follow the instructions on the dechlorinator product for the appropriate dosage based on the volume of water in the pond.
Once the pond is filled to the desired level, allow the water to circulate and settle for a few hours or overnight. This allows any remaining sediment or debris to settle at the bottom of the pond. After this settling period, you can use a net or pond vacuum to remove any visible debris from the water.
Finally, check the water parameters, such as pH, ammonia, and nitrite levels, to ensure they are within the acceptable range for koi fish. Adjust using appropriate water treatments to create a healthy and balanced environment for your fish.
9. Add natural, biological greenery
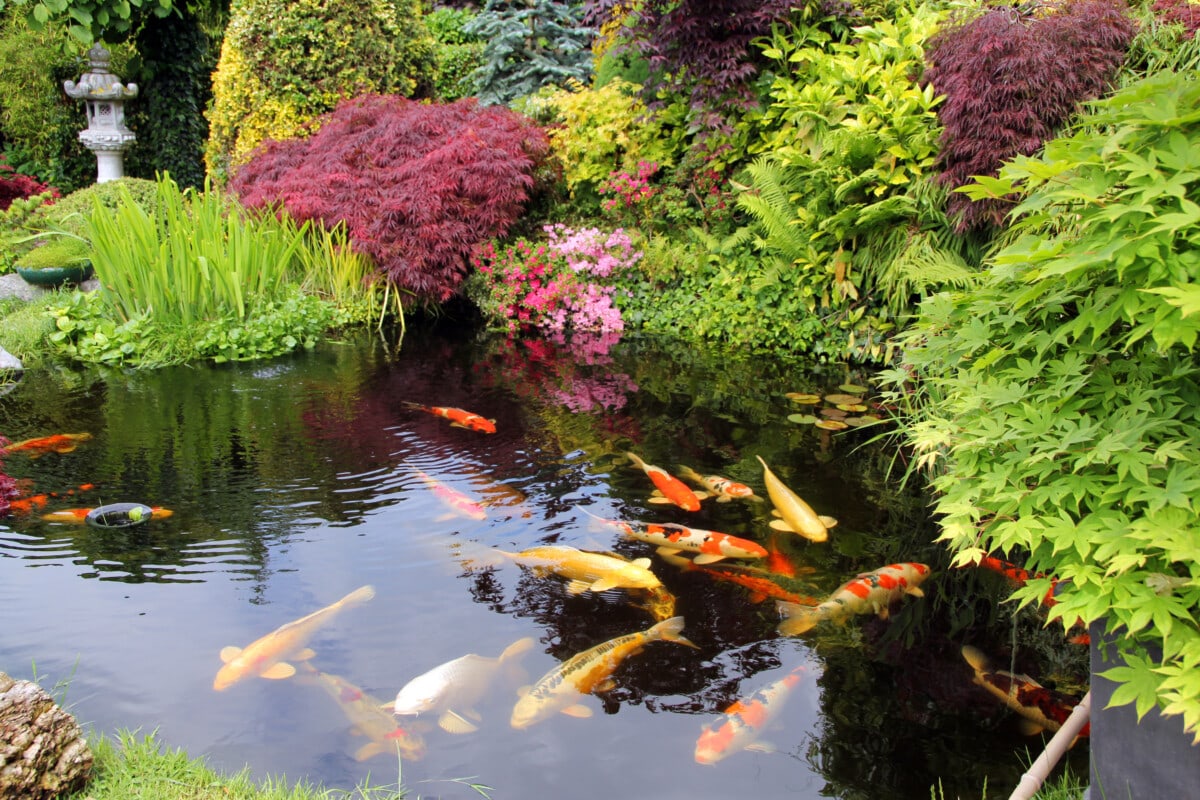
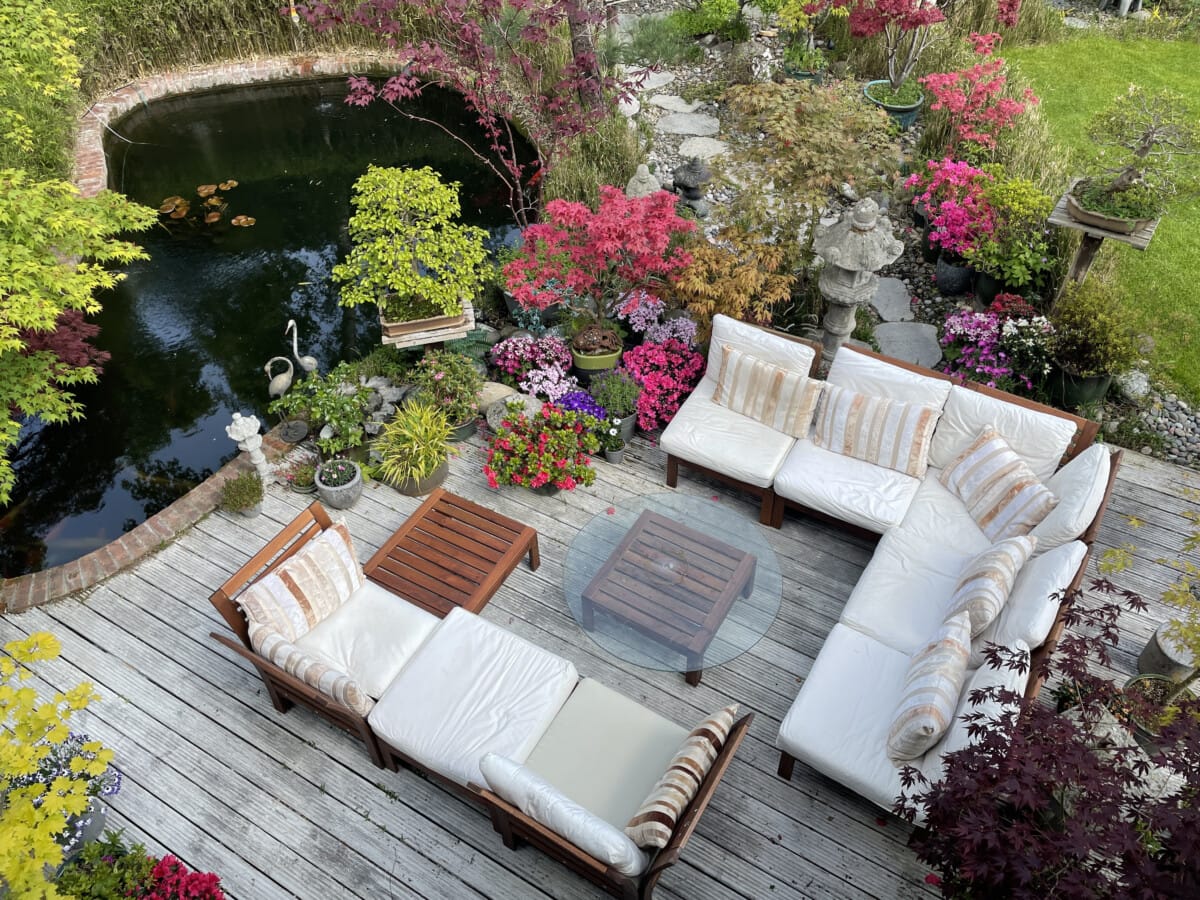
Adding biological greenery, such as aquatic plants, to your backyard koi pond is not only visually appealing but also beneficial for the overall ecosystem of the pond. Choose various aquatic plants suitable for koi ponds, including submerged plants, floating plants, and marginal plants. Submerged plants like Anacharis or Hornwort provide oxygen and act as natural water filters while floating plants like Water Hyacinths or Water Lettuce offer shade and help reduce algae growth. Marginal plants like Water Lilies or Iris add beauty to the pond’s perimeter and provide hiding spots for the fish.
Louis Kruger of Fish First shares, “Add enough water plants to your system. Water lilies do not like flowing water. The broader the plant leaves, the more effectively it will consume the nitrates, which are the final product of the nitrification process.”
10. Introduce koi fish
Acclimate the koi fish to the pond’s water temperature gradually by floating their transport bag or container in the pond for about 15-20 minutes, allowing the water temperatures to equalize.
Slowly release the koi fish into the pond, allowing them to swim out of the bag or container at their own pace. Avoid forcefully dumping them into the water, which can cause stress and potential injury. It’s recommended to introduce the koi fish in smaller groups rather than all at once, allowing the pond’s biological filtration system to adjust and maintain water quality.
During the first few days, closely monitor the behavior and health of the koi fish. Ensure they are active, swimming normally, and eating well. Watch for signs of stress or illness, such as lethargy, loss of appetite, or abnormal swimming patterns. If you notice any issues, consult a veterinarian or experienced koi keeper.
The post 10 Steps and Considerations For Building The Perfect Backyard Koi Pond appeared first on Redfin | Real Estate Tips for Home Buying, Selling & More.
from Redfin | Real Estate Tips for Home Buying, Selling & More https://ift.tt/2ViZms8


No comments:
Post a Comment